EasyGaugePolygon
Support |
|
|---|---|
Required licenses |
EasyGauge |
Recommended images |
Any gray level image from the folder |
Location |
|


Purpose
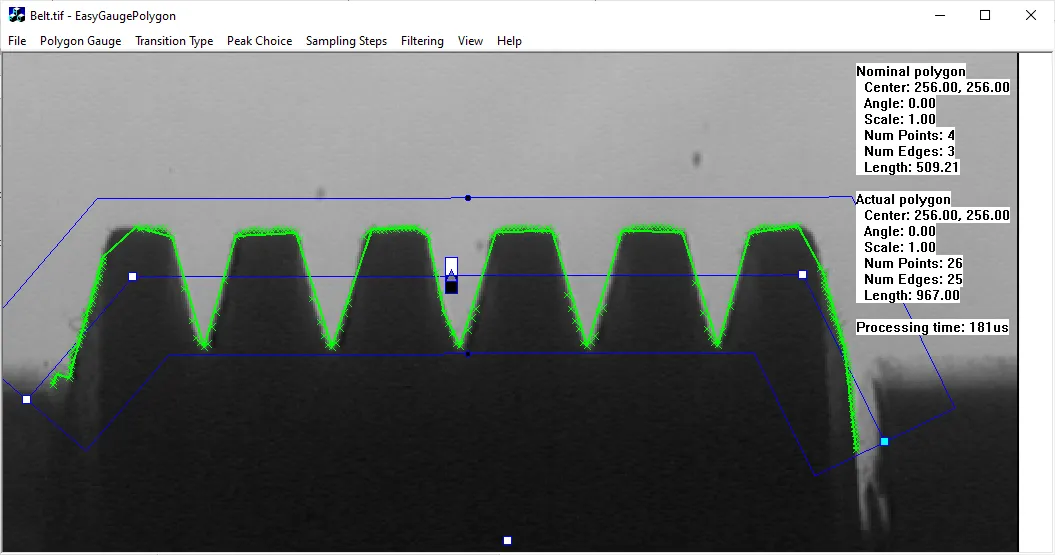
This sample program demonstrates how to:
Use the class
EPolygonGaugeof the EasyGauge library.Edit the geometry of the gauge and change the main parameters.
Configure various display options.
Code highlights
Initialize a default polygon gauge on the loaded image.
m_PolygonGauge.SetCenterXY(m_Image.GetWidth() / 2.f, m_Image.GetHeight() / 2.f);
float half_size = m_Image.GetWidth() / 4.f;
m_PolygonGauge.AppendVertex(EPoint(half_size, half_size));
m_PolygonGauge.AppendVertex(EPoint(half_size, -half_size));
m_PolygonGauge.AppendVertex(EPoint(-half_size, -half_size));
m_PolygonGauge.AppendVertex(EPoint(-half_size, half_size));
m_PolygonGauge.SetTolerance(m_Image.GetHeight() / 20.f);
Draw the image and the nominal polygon gauge.
SourceImage.Draw(drawAdapter, m_fZoomFactor, m_fZoomFactor, m_OrgX, m_OrgY);
gauge.SetZoom(m_fZoomFactor);
gauge.SetPan(m_OrgX, m_OrgY);
gauge.Draw(drawAdapter);

if (m_bViewPoints)
  gauge.Draw(drawAdapter, EDrawingMode_SampledPoints);
Create a new vertex when you clikc on the left button.
if (PolygonGauge.GetHitHandle() == EDragHandle_NoHandle)
{
  PolygonGauge.AddVertexAtDisplayPosition(point.x, point.y);
}