Deep Learning Studio
Deep Learning Studio is a graphical user interface that you can use to create datasets and train your deep learning tools.
Deep Learning Studio is organized around the concept of projects.
A project consists in:
A tool type.
A dataset (images and their annotations).
Several dataset splits.
The data augmentation settings.
The tools that you can train on the dataset.
The results and metrics for each tool to analyze their performance.
The project is stored as a folder containing:
The project file with the
.edlprojectextension.The
Imagesfolder with the imported images.A dedicated folder for each tool.
By default, the projects are stored in the folder named Deep Learning Studio Projects located in your Documents folder. After loading a project, the project file is automatically locked when it is used. This means that when a program opens a Deep Learning project file, this project file is inaccessible by other programs as long as the initial program doesn’t explicitly close the project.
Here are the various file extensions used within a project:
.edlproject: the project file containing the dataset, the splits, the list of tools and the data augmentation settings..edlsettings: the settings for a tool..edlmodel: a deep learning model for the tool.The training model is the model obtained after the last training iteration.
The inference model is the model that is applied to images. It is the model that gave the best performances during the training.
.edltool: a complete usable tool (obtained by exporting the tool from Deep Learning Studio)..edlmetrics: the metrics for the tools..edlresult: a result for a given image and tool..edldataset: a dataset (obtained by exporting the dataset from the project).In older versions of eVision, the settings, model and tool had the extension
.ecl, the metrics.edl, and the dataset.eds.
Note
Deep Learning Studio never sends or shares resources over the internet. All images, annotations, models and results always remain on your local computer.
Deep Learning Studio Workflow Illustration
This illustrates the typical workflow to create a Deep Learning tool for your application.
Load or create a project.
Quickly go back to your work with the recent project lists.
Open existing projects or create new projects.
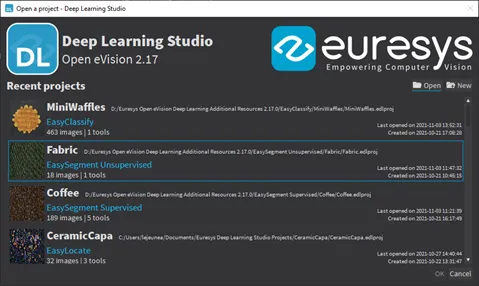
Open existing projects.
Create a new project.
Specify the name and the type of the project.
If necessary, change the path to save the project.
See Choose Your Tool.
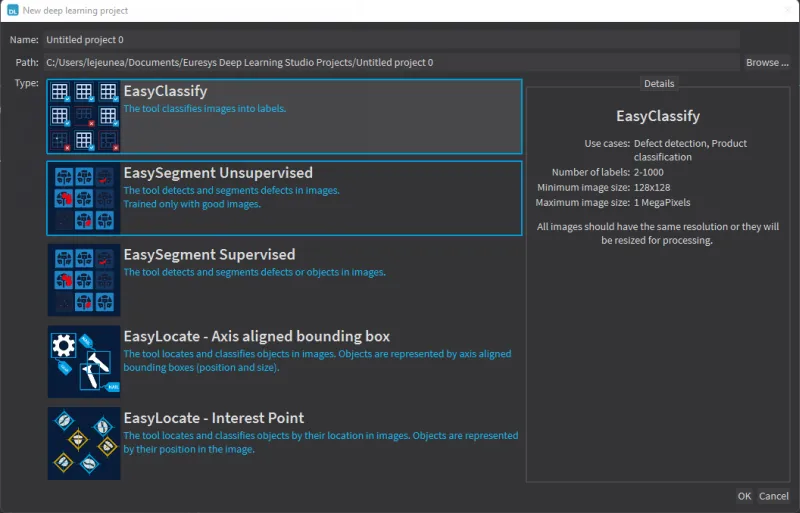
Create a new project.
Import images in the project dataset and annotate the images. See Managing the Dataset and the Annotations.
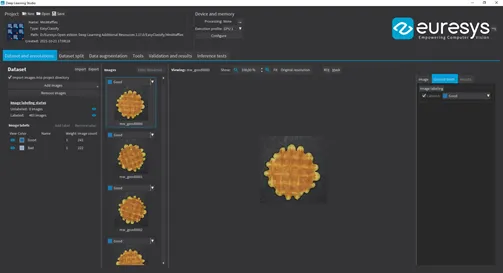
Import and annotate images.
Split your dataset into training, validation, and test images. See Managing the Dataset Splits.
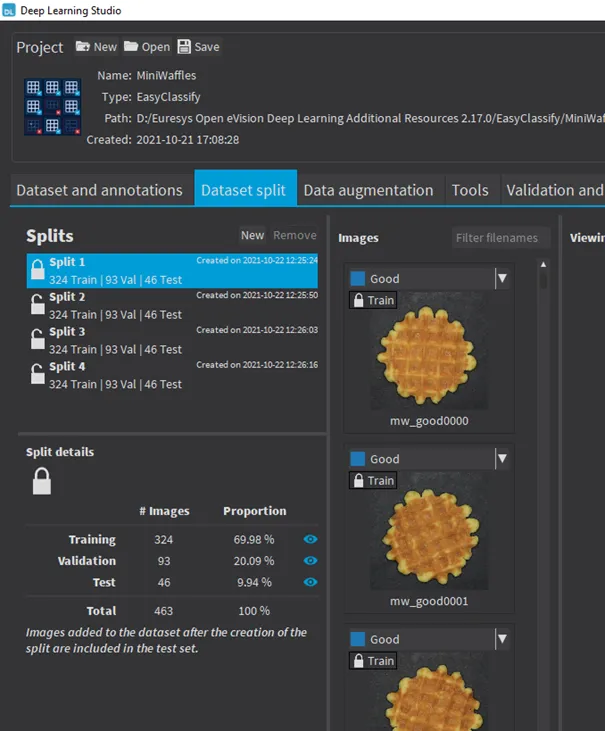
Split your dataset.
Configure and view the data augmentation settings. See Using Data Augmentation.
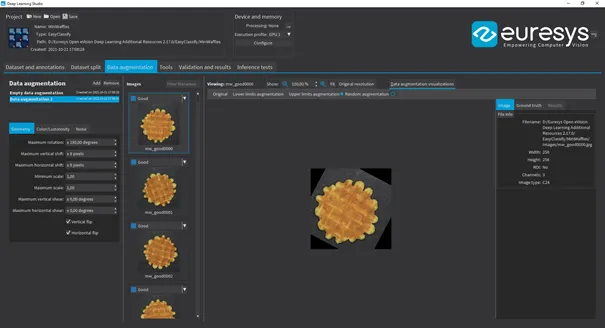
Configure data augmentation.
Create, configure, and train your tools. See Training a Deep Learning Tool.
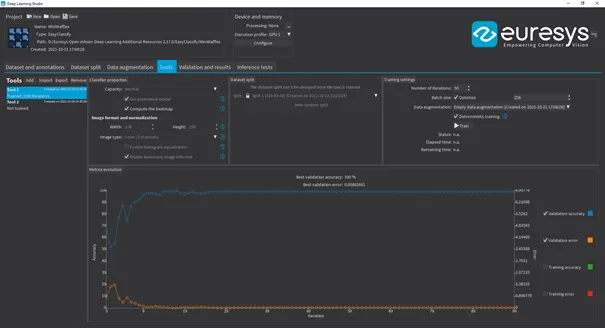
Train your tools.
Analyze the performance and the results of the trained tools. Make predictions on new images. See Using a Deep Learning Tool.
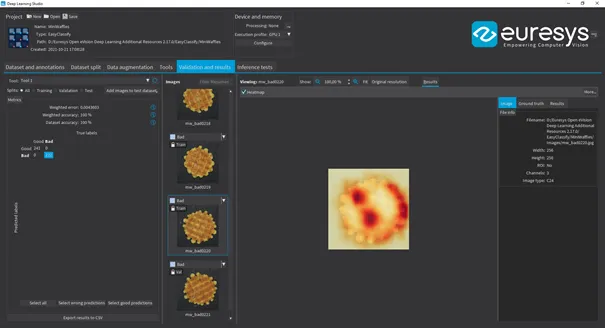
Evaluate the performance of your trained tools
Benchmark your tools to optimize the execution settings and maximize the inference speed on your hardware. See Benchmarking a Deep Learning Tool.
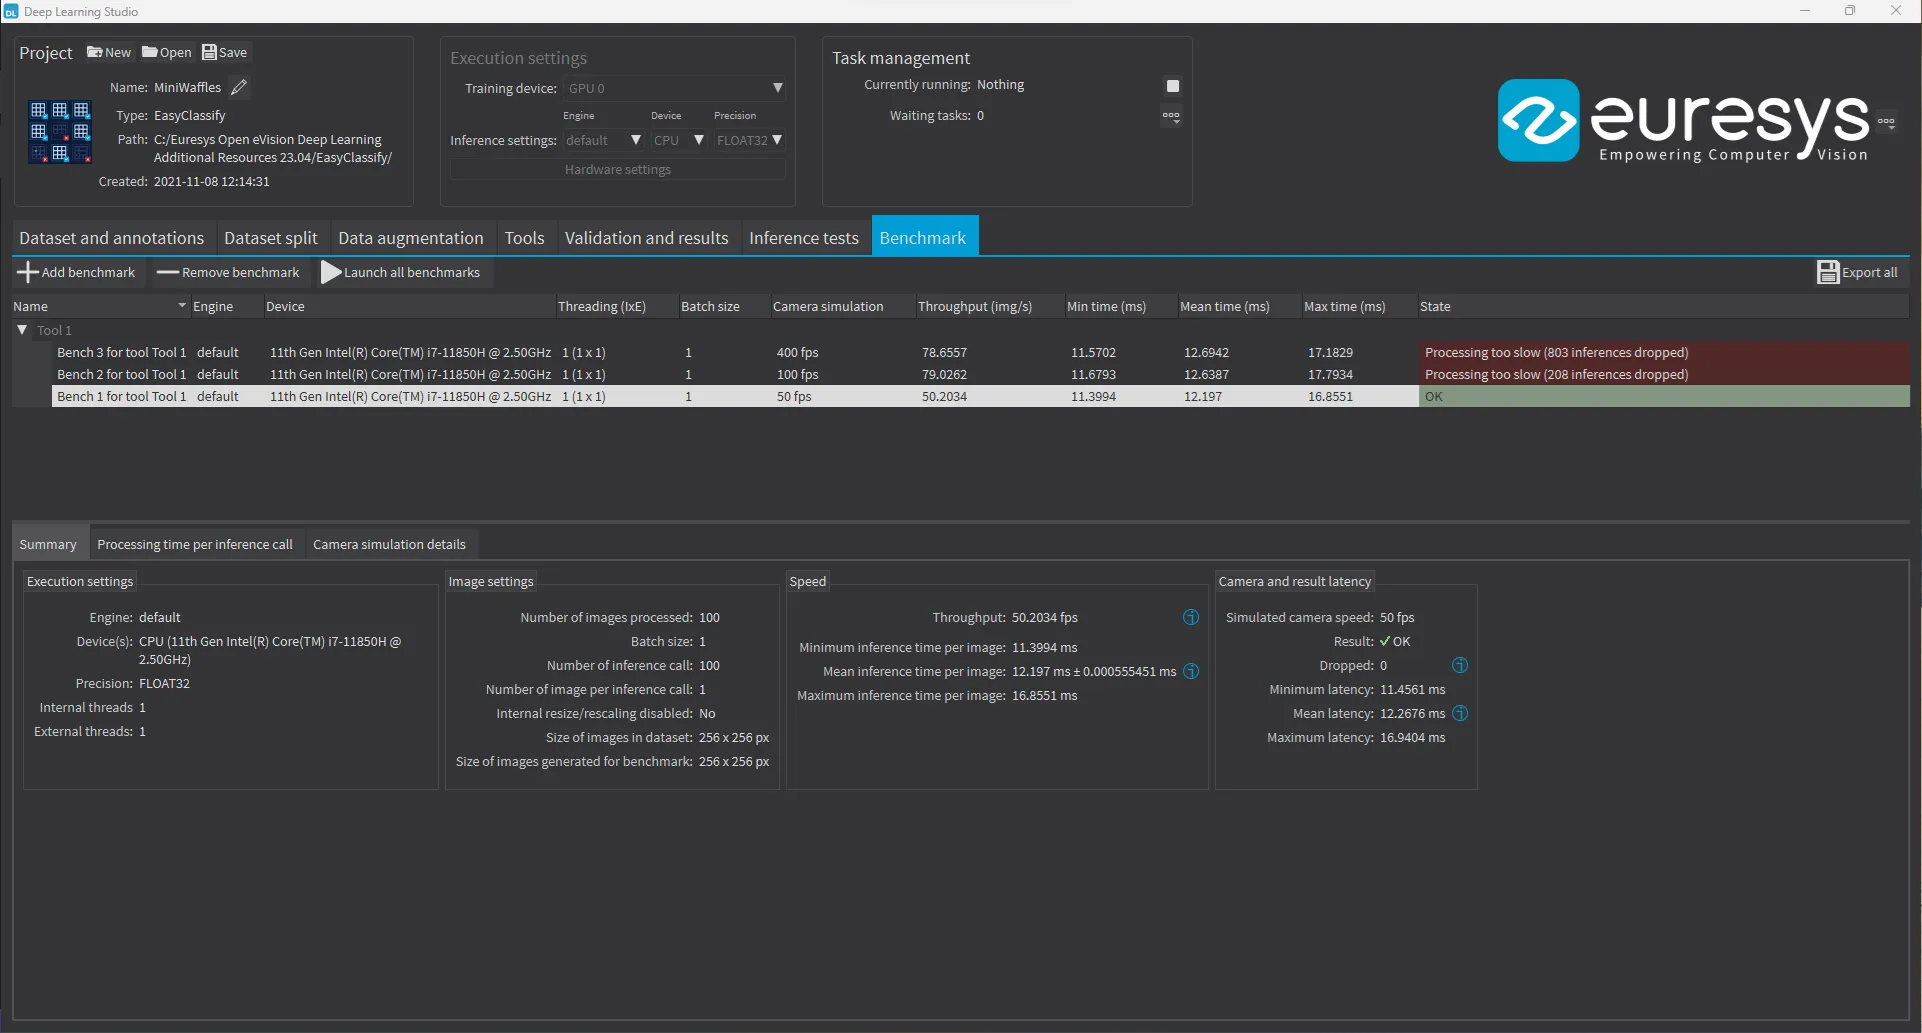
Benchmark your tools.
Additional Resources
The Deep Learning Additional Resources package, separate from the eVision installer, provide several sample datasets as well as Deep Learning Studio projects containing a trained tool for these datasets:
For EasyClassify: the
MiniWaffle,Stone TilesandCopperSilverTapedatasets.For EasySegment Unsupervised: the
Fabricdataset.For EasySegment Supervised: the
Coffeedataset.For EasyLocate Axis Aligned Bounding Box: the
ElectronicComponentsBagdataset.For EasyLocate Interest Point: the
CeramicCapacitordataset.