Using the User Interface
The Neo License Manager user interface
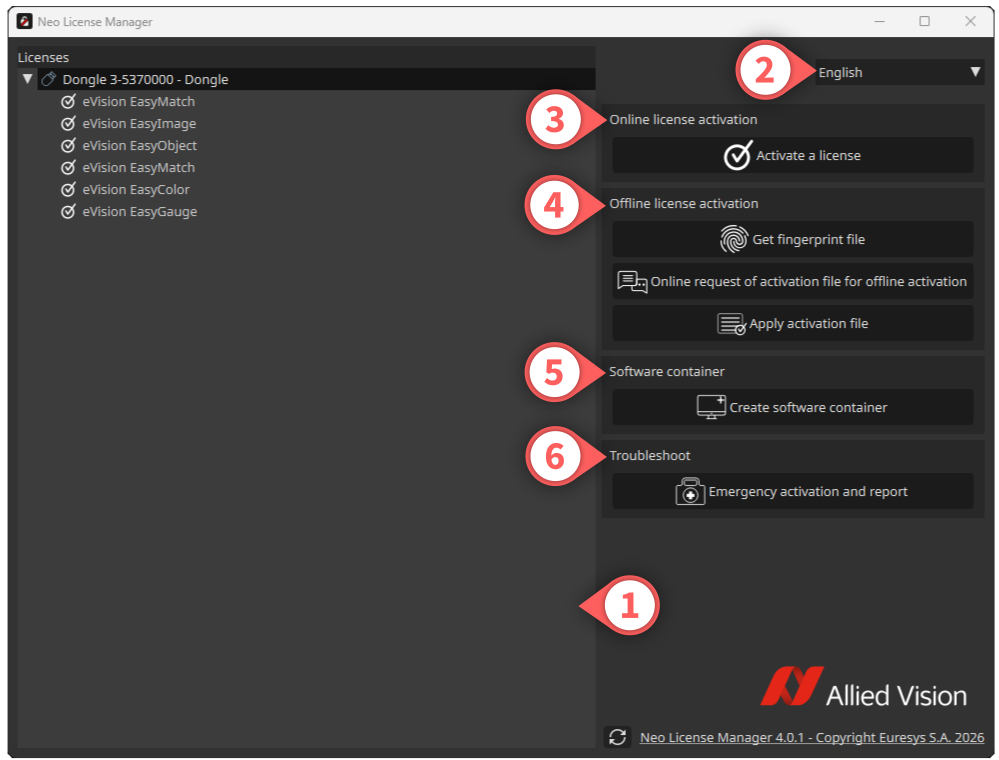
The Neo License Manager is organized in 6 areas:
A list of the license containers and the licenses they contain.
The interface language configuration.
The online Neo License activation.
The offline Neo License activation.
The creation of a software container (this area is hidden after creating a software container).
The troubleshooting.
Activate an online license
Click on the
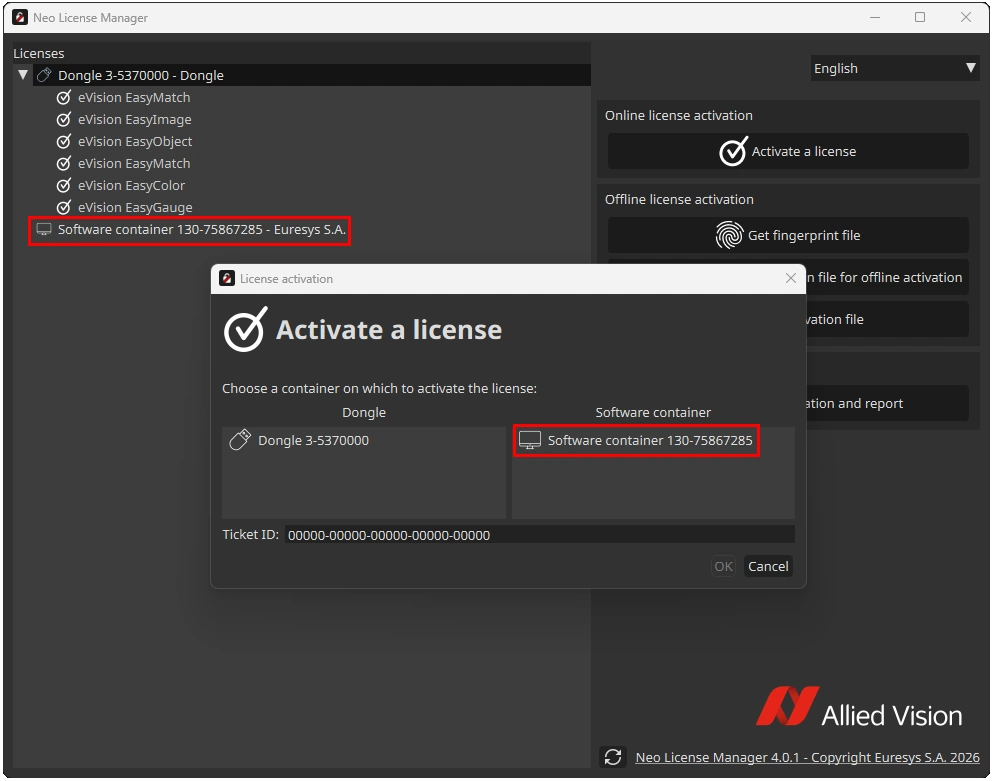
Activate a licensebutton to open theLicense activationdialog.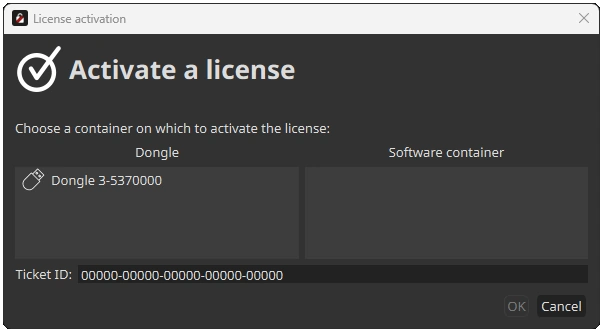
Enter the required information:
The
containeron which you want to activate the license.The Ticket ID (5 groups of 5 alphanumeric characters separated by a dash).
Note
If there is no software license container yet, create one from the main window before opening the license activation dialog.
System reinstallation
If you have to reinstall the system and lost your licenses:
Activate the license with the old Ticket ID to try to recover all the licenses associated to the container where you first activated this Ticket ID.
This only works if:
It is done in a new, empty container.
The system is recognizable (the hardware is more or less the same).
If this does not work or if you lost your licenses and the system has changed significantly (for instance after the failure and replacement of a hardware component), you need to request a reactivation:
Contact the support to obtain a reactivation authorization for the corresponding Ticket ID.
Once the reactivation is authorized, perform the license activation procedure as usual.
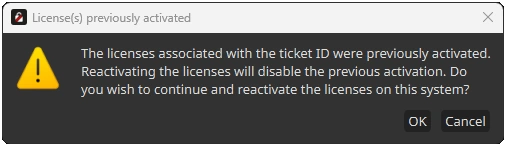
The Neo License Manager asks for the confirmation of the reactivation.
Activate an offline license
The offline license activation allows you to activate licenses on a machine A that is not connected to the Internet through a machine B that is connected to the Internet.
The offline license activation is a 3 steps procedure:
On machine A:
Click on the
Get fingerprint filebutton to open theGet a fingerprint filedialog.
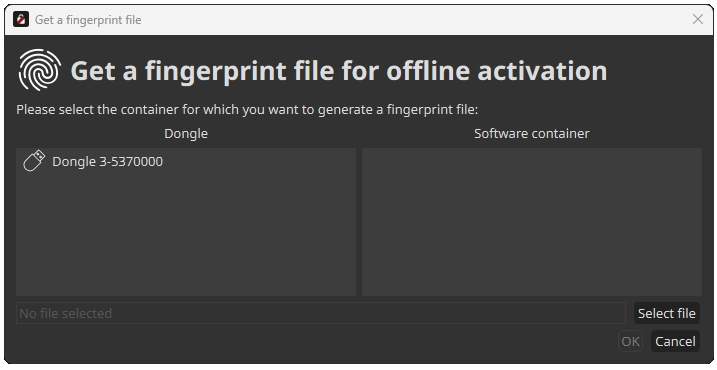
Enter the required information:
The license container on which you want to activate the license.
The path to save the fingerprint file.
On machine B:
Click on the
Online request of license file for offline activationbutton to request the corresponding license file.
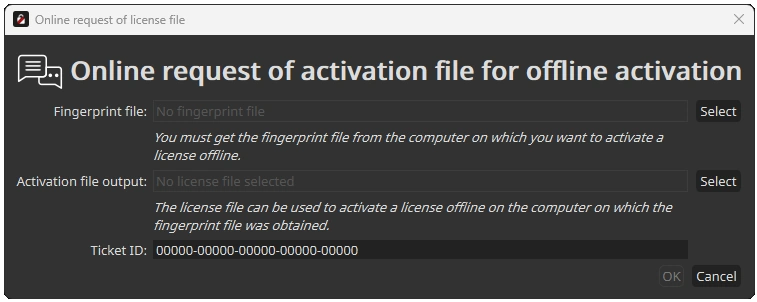
Enter the required information:
The
Fingerprintfile from machine A.The
License file output pathto save the license file.The Ticket ID (5 groups of 5 alphanumeric characters separated by a dash) for the license.
On machine A:
Click on the
Apply license filebutton.Select the license file generated in step 2.
Creating a software container
To activate a license on a software container:
Click on the
Create software containerbutton (area 5 in the main window) to create a new software container.Click on the
Yesbutton to confirm the creation of the software container.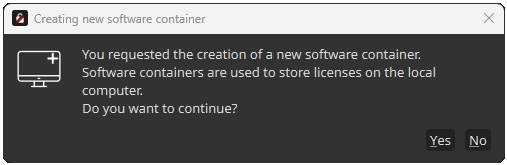
The software container is now available in the license activation dialogs and in the main license list (area 1 in the main window).
Preparing a dongle to use the OEM key functionality
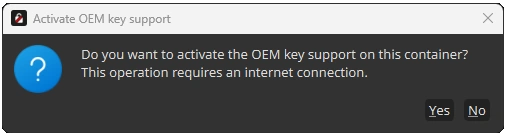
You can use the Neo USB Dongles with the OEM Key functionality provided by
Easy::SetOemKeyandEasy::CheckOemKey.When a preparation is required, a warning text appears in the list of the dongle licenses.
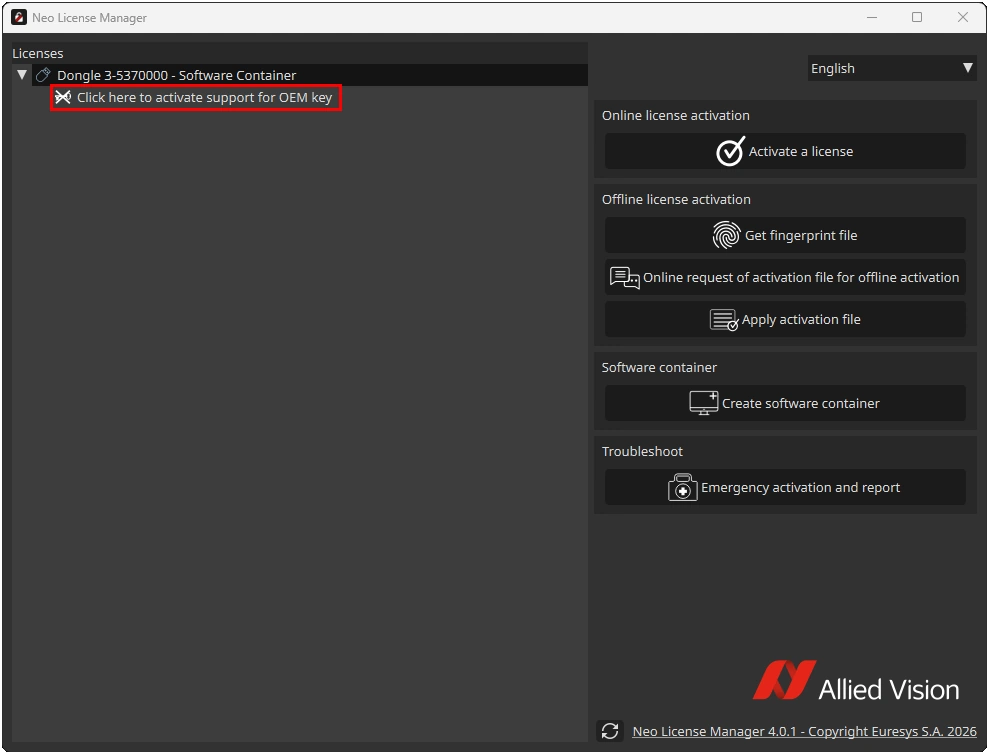
Click on that text and follow the instructions.
Troubleshooting
Click on the
Emergency activation and reportbutton to open theTroubleshootingdialog.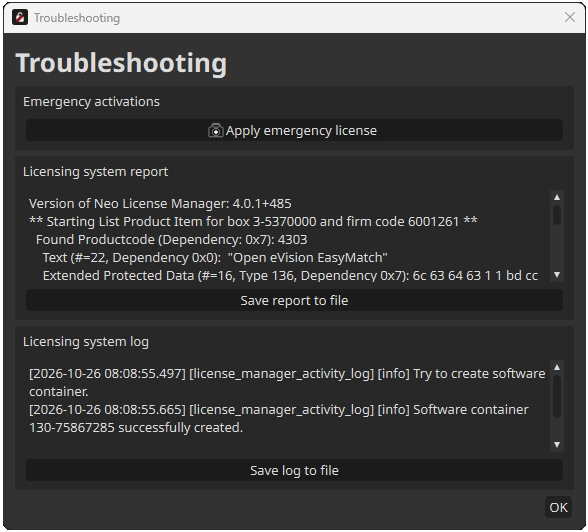
Click on the
Apply emergency licensebutton to temporarily activate licenses:These licenses activate all eVision products.
They are valid for 8 days.
You can repeat this a maximum of 3 times.
For security reasons, you cannot activate emergency licenses on virtual machines.
Click on the
Save report to filebutton to generate a licensing system report and save it to a file.The support team may require this report when you have a licensing issue.
Click on the
Save log to filebutton to generate a licensing system log and save it to a file.The support team may require this log when you have a licensing issue.